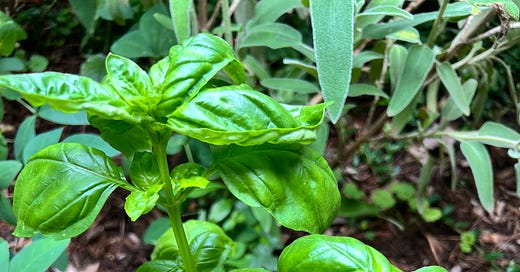
On the calendar, we are not far away from the meal we know in our neighborhood as “First Pesto.” To me, it’s always the best pesto of the year because the basil we gather from the garden will be at its most tender. This once-a-year meal has become a habit to dream of and anticipate through the winter.
According to an etymology site online, the noun pesto dates from 1937, defined as “green, aromatic, olive oil-based pasta sauce, a Genoese specialty.” The Italian word pesto is a “contracted form of pestato, past participle of pestare ‘to pound, to crush,’ in reference to the crushed herbs and garlic in it.” A pestle is the original tool that was used to crush the basil in a small mortar. Nowadays we use a blender. A food processor works, too.
Strictly speaking, what is supposed to be a thick Italian sauce is often made in this country with an abundance of olive oil, which, to me, obscures the main ingredient—the basil. Neither am I fond of store-bought pesto, usually offered in jars where the oil separates and the basil darkens. Long refrigeration in a squeeze tube is no better. Pesto is best made fresh at the last minute before serving. The method I have come to favor and savor over the years, with expert coaching from my friend Jim Harb of Knoxville, involves less olive oil and more cheese.
Here, for the first time in print, I will reveal our technique for making the creamiest pesto you have ever eaten, whether the greens are basil, ramps, or arugula, and whether you prefer pine nuts, walnuts, hazelnuts or pecans. It works whether you use one or more cheeses, including parmesan, romano, manchego, fontina, or a little marscapone for sweetness. But let’s start with the most basic technique for the most basic pesto. Once you have made this pesto to your satisfaction, then it’s time to experiment with variations.
I am one of those cooks that goes by intuition and the handful, so bear with this approximation. This dish is not like baking where measurement is critical down to the molecule. These quantities should give you a sense of relative proportion that you can scale according to the number of diners:
2-4 cups of basil leaves not packed too tightly into the cup when you are measuring
2-3 large garlic cloves peeled
3/4 cup of grated parmesan and a quarter cup of grated romano (standard ratio)
1/4 to 1/3 cup of pine nuts (a generous hand helps with the texture, but they are pricey)
1/4 cup of the best olive oil you can afford and no more
There is one more ingredient—the secret to the creaminess—but we’ll get to that in a minute.
Directions:
1. Cut stems off your basil plants in such a way that the plant will keep growing. In the kitchen, pluck the leaves off the stems and rinse them, then pat them on paper towels and set them aside to dry a bit.
2. Depending on the number of diners and their passion for garlic, peel garlic cloves, cut them in half, and chop them up with the blender.
3. Put the pasta water on to boil. The type of pasta doesn’t much matter. It should be one you like—from angel hair to fettuccini to bowties to pappardelle. Whatever.
4. Stuff the blender with two to three cups of basil leaves on top of the chopped garlic which has partially stuck to the sides of the glass. Then add all the cheese and pine nuts on top. For best results, you must use real cheese (preferably Italian) that you grate yourself—not the stuff in plastic bags hanging in the refrigerator section of the grocery or that dreaded sawdust in the green cans!
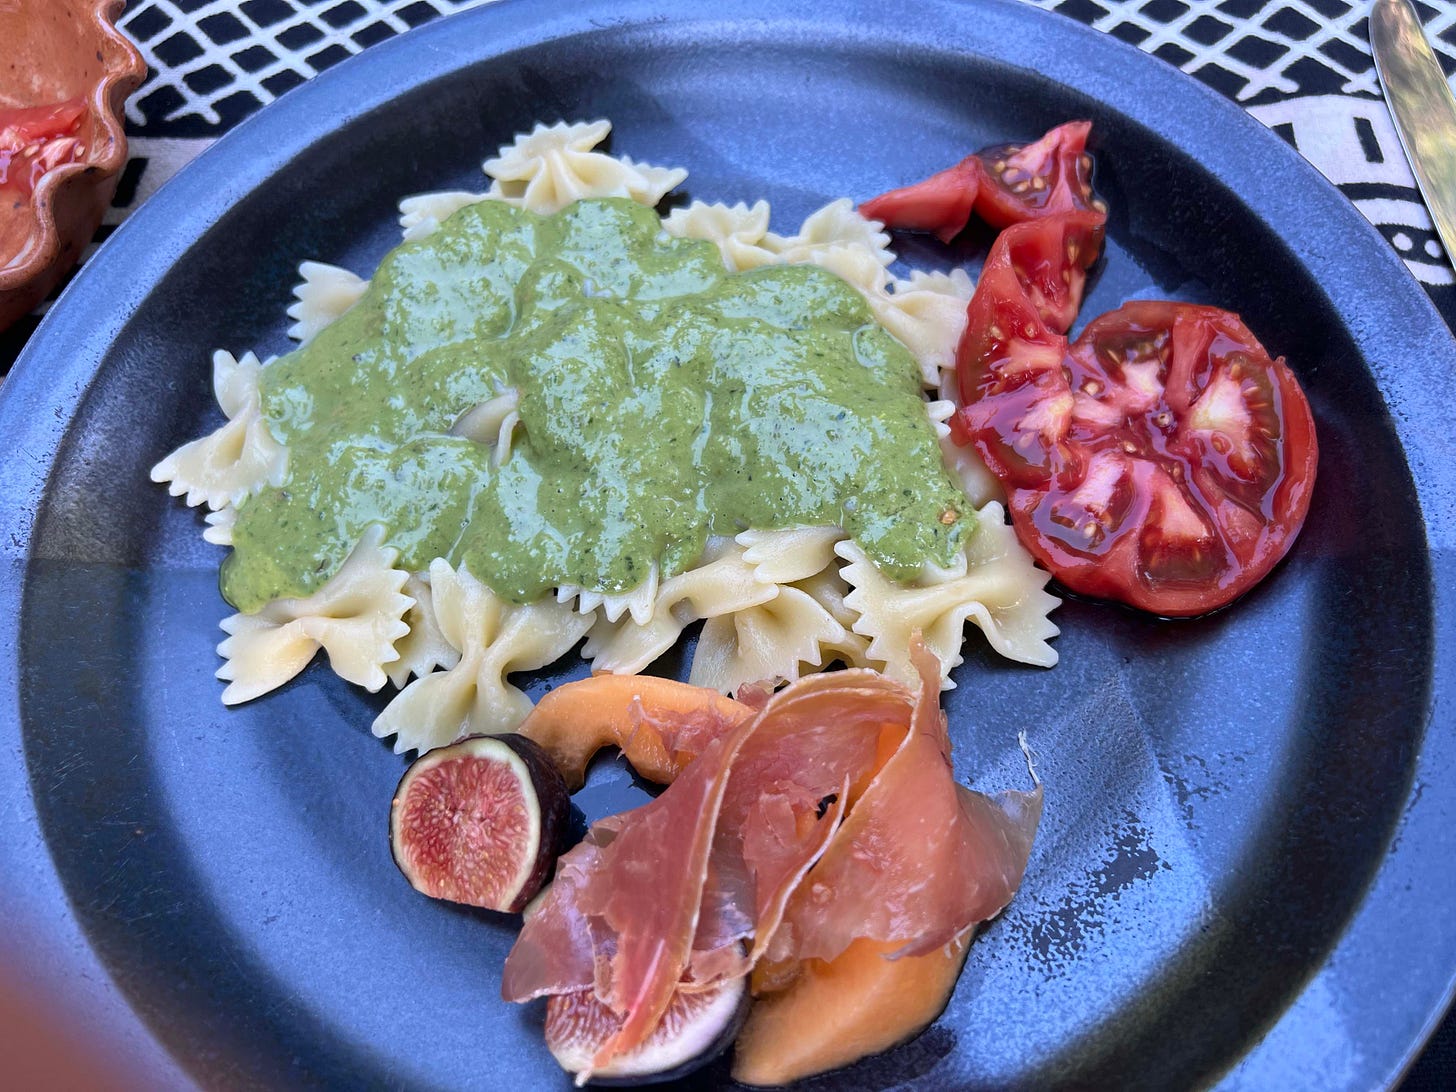
5. Now add the quarter cup of olive oil to the blender and let it sink to the bottom. As your pasta is getting close to al dente, dip no more than a half cup of pasta water away from the boiling noodles and pour it into the blender, letting it settle. This is the secret ingredient. Now put on the lid and start the blender. It may take a minute for the leaves to start swirling in the cheesy liquid. This will happen from the bottom up. Be patient without burning out the blender. If ultimately the mixture is not all swirling bottom to top, stop the blender and sparingly add more pasta liquid. Give it another go. For the last minute, blend on high until the whole blender is bright green with sauce that is viscous, thick, and creamy, like batter--not too stiff and definitely not runny. This is the crucial place to stop. You want the pesto to pour from the blender very slowly into a gravy boat or small pitcher.
6. When the pasta is done, drain the water and put the pasta in a serving bowl and top it with the pesto sauce but don’t stir the two together. Or keep the two items separate so people can experiment with the right ratio of sauce to pasta on their plates. Serve with fresh cantaloupe topped with a little saddle of prosciutto. Fresh figs and tomatoes are good, too!
This creamy pesto keeps for a while. The top will turn brown in the fridge, but you can skim the brown off and smear the underlying green cream on toast or tomato sandwiches, add it to fresh hot pasta as a leftover meal, or spread over baked chicken.
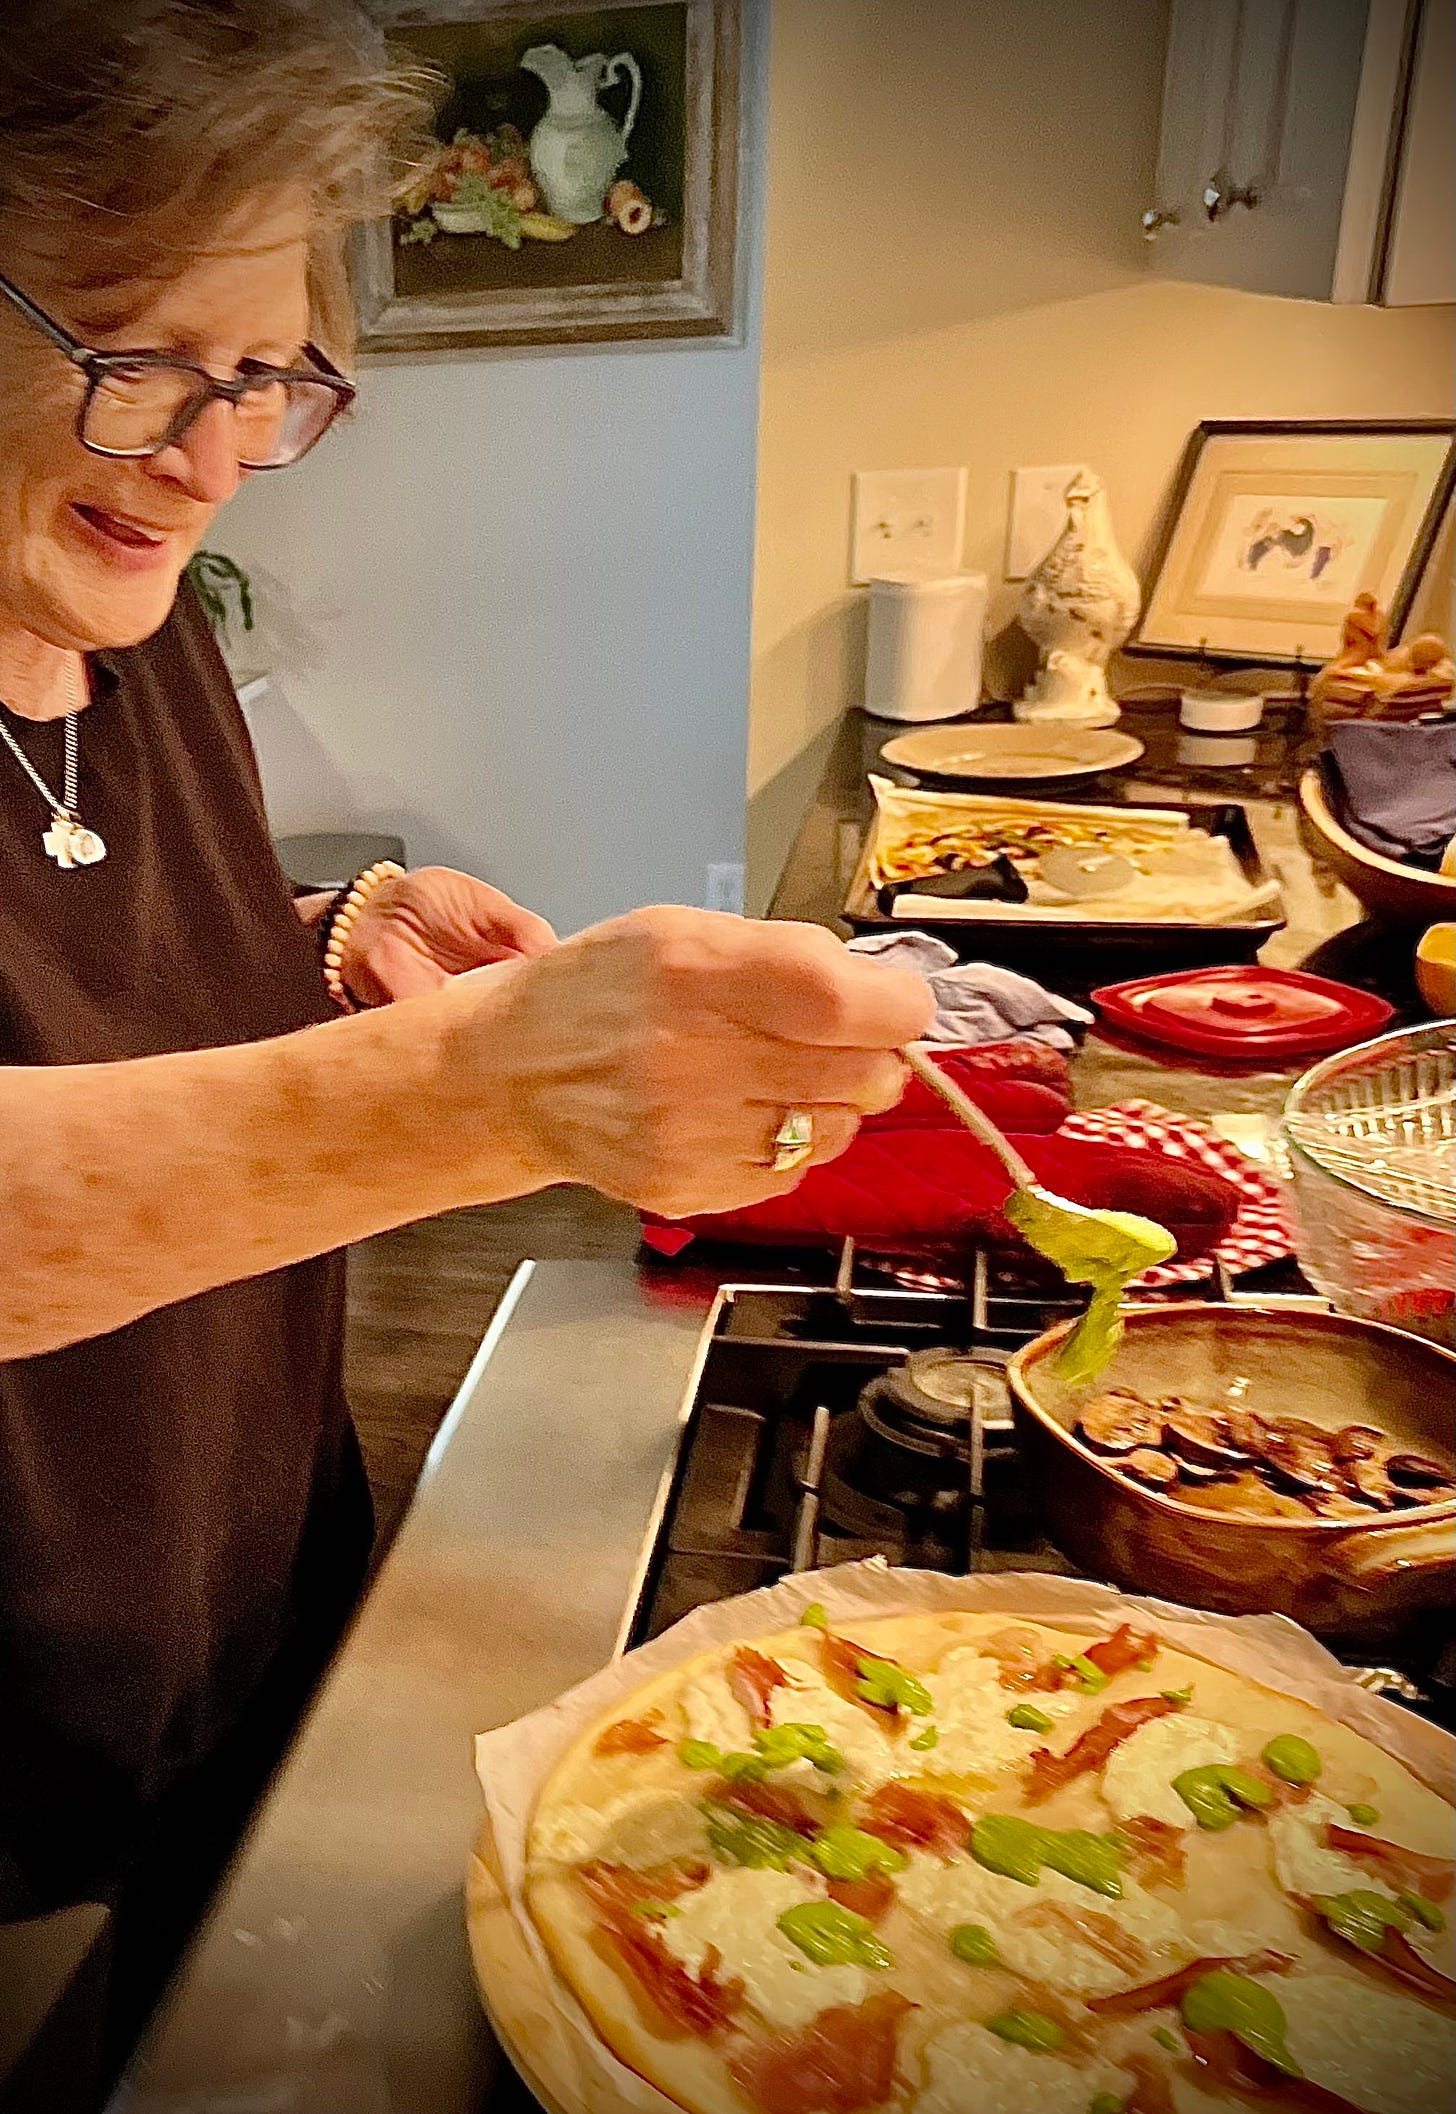
In April this year Donna made pesto from wild ramps that we grew in the woods in the Blue Ridge Mountains and added parmesan and organic walnuts from the natural foods store. It was a potent concoction that she drizzled onto a homemade pizza already decorated with burrata and prosciutto. We called it “Skunks in the Laurel.” Despite the name, it was both an aesthetic and culinary success. The pizzas came out looking like abstract paintings. Note: when you make pesto from ramps, there is no need to add garlic. Ramps ARE green garlic! That pesto was STRONG.
You can follow these general pesto directions and experiment with other cheeses, greens, and nuts. You might prefer the nuts toasted. You might smear the pesto on a bagel. Let us know what works for you!


My basil is coming along. Can't wait to make pesto with the secret ingredient!
I loved reading all about this AND about the ramps! - I think we would be all over the ramps pizza! - (but we would eat it rather than hang the ‘art’ on the wall!)